Creating Complete Comfort In A Family Home
- Zone original heating upstairs and downstairs.
- Install Nu-Heat underfloor heating in kitchen/diner, utility and playroom.
- Hive thermostats on the radiator circuits.
- Upgrade heating pipework.
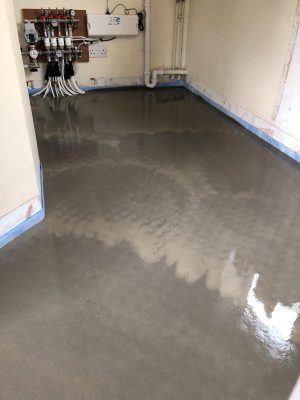
This renovation project required pipework and component alterations before installation. First, we isolated existing radiators and capped the kickspace heater in the kitchen/diner, utility and playroom. New flow and return heating pipes installed from the boiler in the garage. The shortest pipe route possible connects the boiler to the new underfloor heating manifold. This is installed in the utility room at the other side of the house.
Screeding The Floor On Top Of The Floor!
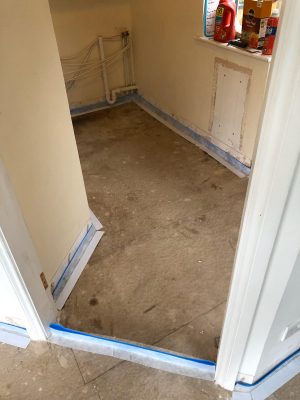
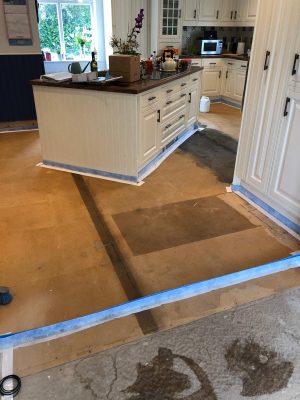
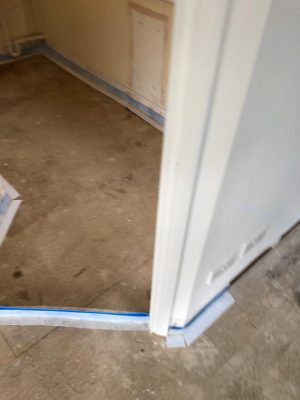
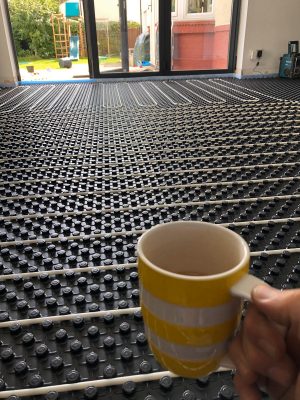
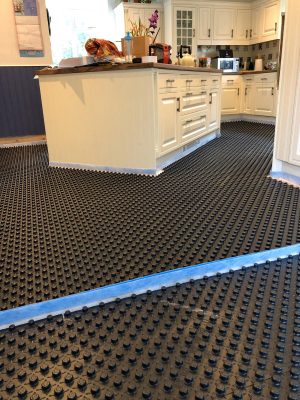
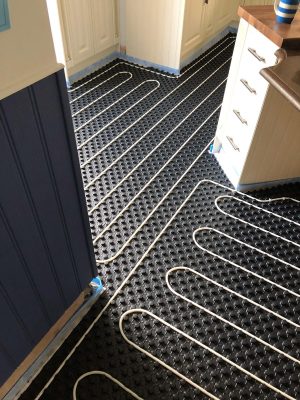
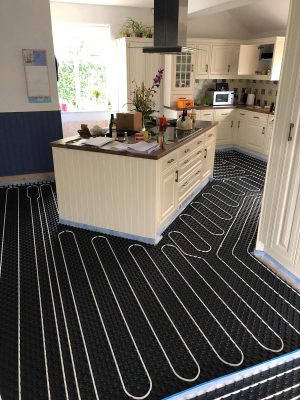
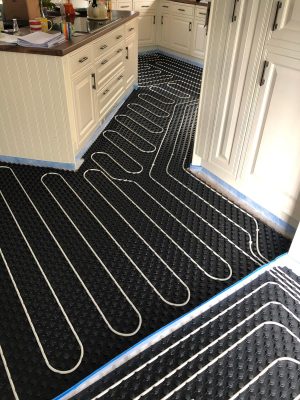
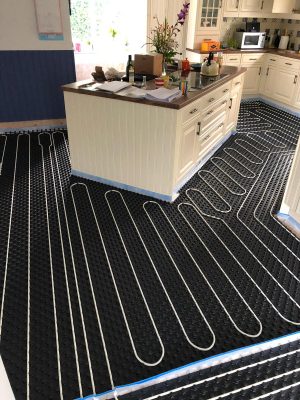
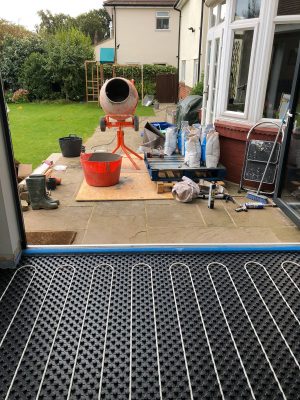
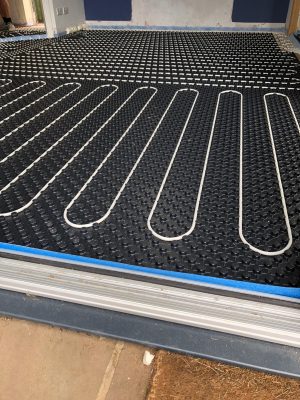
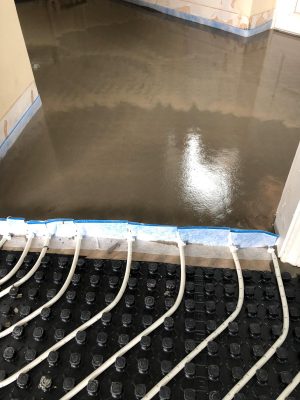
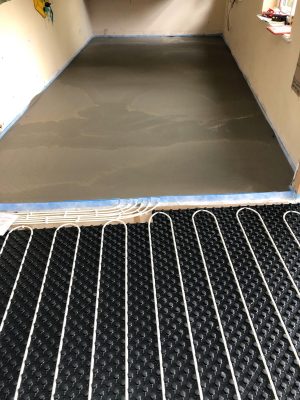
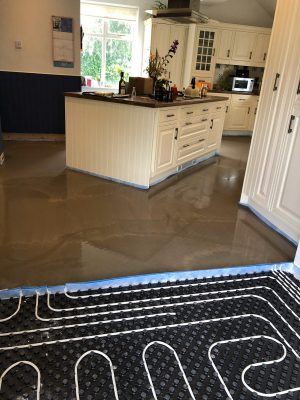
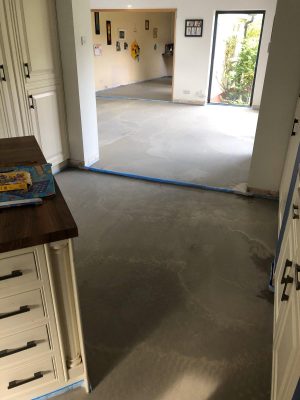
Next, we cleared the kitchen/diner, utility and playroom floor and primed ready or the underfloor heating system. Nu-Heat heating system allows the underfloor heating to sit on top of the existing floor. Before laying the pipes, we frame the floor-space with blue foam to allow for any expansion.
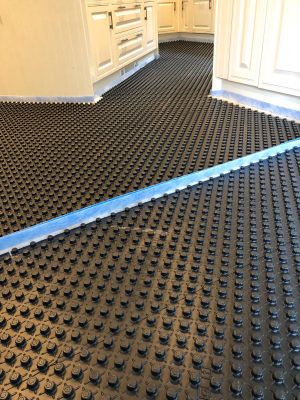
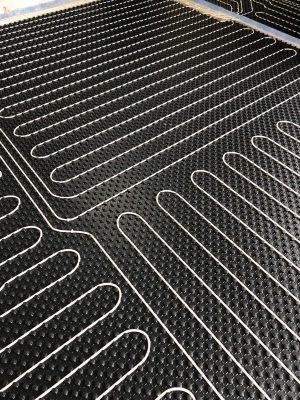
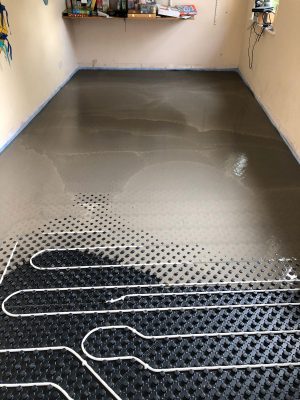
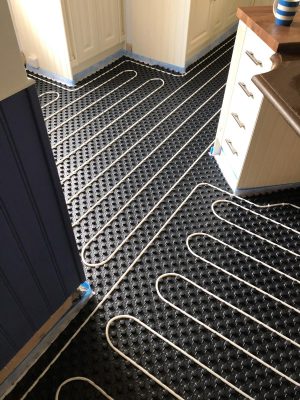
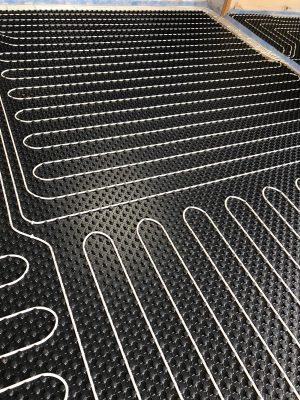
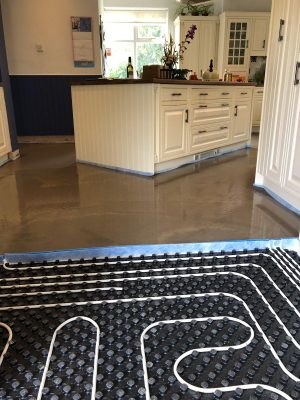
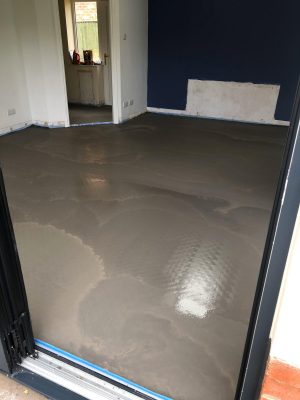
Once the primer has dried, it provides a suitable surface for the underfloor heating panels to stick to; each panel has an adhesive back to it. The design of the panels are very forgiving when a room is not a standard shape. We then lay the underfloor heating pipes into the panels and pour the Nu-Heat screed on top. Once dry the floor space is ready to accept the floor tiles. Nu-Heat underfloor heating will need the size of the internal doors changing to suit the extra floor level.
For a detail specification visit Nu-Heat
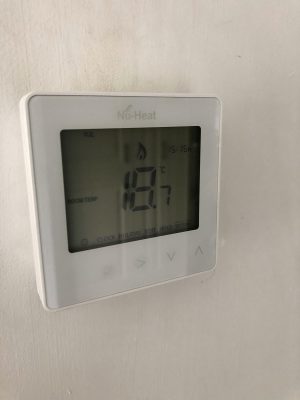
To provide complete control for the owners, we installed Hive active heating thermostats for upstairs and downstairs radiator zones, and the new underfloor heating has individual zone heating thermostats.
Overall, a very satisfying outcome to a project using some clever kit! If you would like more information about this installation, or have any other queries, please get in touch.
See more about this Nu-Heat underfloor heating project in our blog here.

