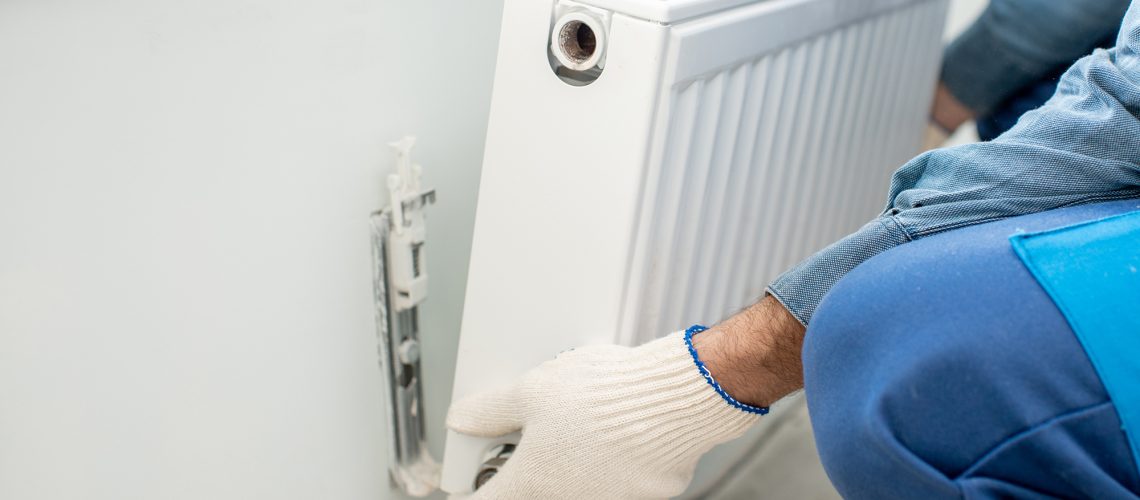
Our guide to removing radiators to decorate your home.
At some point, you may decide to decorate. It could be moving into a new home, or a child out-growing their bedroom decor (personally, dinosaurs should stay, regardless). It could be a bathroom looks a bit dated, or you may just want a fresher look. Whatever the reason, there are obstacles in your way. The biggest of all will be the radiators. Here’s what we suggest you do to remove them safely.
Is It Best To Replace The Radiator?
Most households have a radiator in each room, fed by a boiler. The concern from most homeowners when removing radiators to decorate is that they are full of water. This could cause a huge soggy problem if handled incorrectly! As part of the project, it may be worth considering updating old radiators and valves with new ones when commencing a decorating project. If the re-vamped room is going to look great, would it be soured by reinstalling the old radiator?
The first question to ask, is do you feel confident you can do this? There is no shame in admitting you may need help removing radiators to decorate. Here’s a good step-by-step video to understand what is involved.
Step One: Preparation
Protect the area around the radiator with dustsheets. Protect yourself with gloves and other personal protection equipment (PPE).
Have a second pair of hands available, especially for larger radiators.
Know where you will store the radiator before you start decorating and have a clear pathway when moving the radiator.
Have tubs that will fit under the radiator and a bucket available to catch some water when you undo the valve connections.
Have the correct tools available. It is best practice to use spanners to turn off the radiator balancing valve and to undo the valve connections.
Start by turning the radiator valves off. Usually, one end can be turned off by hand such as the controlling valve or thermostatic valve (TRV). In some cases, the TRV may have a manual cap that can be used instead of the TRV head. Swapping these over ensures that the valve is permanently switched off, and not left on a frost setting. Other valves may need a cap removing and turning off using a spanner. It is important to note how many turns it takes to isolate the valve so that it can be reset to the same setting when the radiator is restored.
With the radiator valves switched off, place a tub underneath one of the radiator valve connections. Gently ease open the connection between the radiator and the valve. There is likely to be a bit of pressure in the system, which should ease quickly. If the pressure remains high, then the valves aren’t shutting properly. Seek professional guidance from this point.
Once the pressure eases, DO NOT undo the connection completely. Instead, undo the connection slowly until a manageable flow of water is being contained in the tub below. This may need emptying frequently depending on the size of the radiator; hence why leaving the valve connection engaged is a good idea as it makes it quick and easy to tightened to pause the flow while emptying the tub.
Eventually, the water will stop running and you will be in a position to remove from the wall. Again, another pair of hands is a good idea as it will reduce the risk of spilling residual water when lifting the radiator off the brackets. Water may still be in the radiator. As you lift the radiator from the brackets, tip one end slightly towards the tub to drain. Be careful as there may be iron oxide deposits present.
With the radiator removed, drain any further residual water and store away from the area for decorating. Place a cover over the radiator to prevent scratches.

